Image source: Keen Games
We’ve been playing Enshrouded for some time, and it’s one of the most promising survival games out there. The combination of superb crafting mechanics, voxel design, and engaging combat make for an experience that we cannot wait to see improve over time in Early Access. If you’re just getting started, here we’ve compiled an Enshrouded starter guide with list of beginner tips and tricks that should get you off on the right foot.
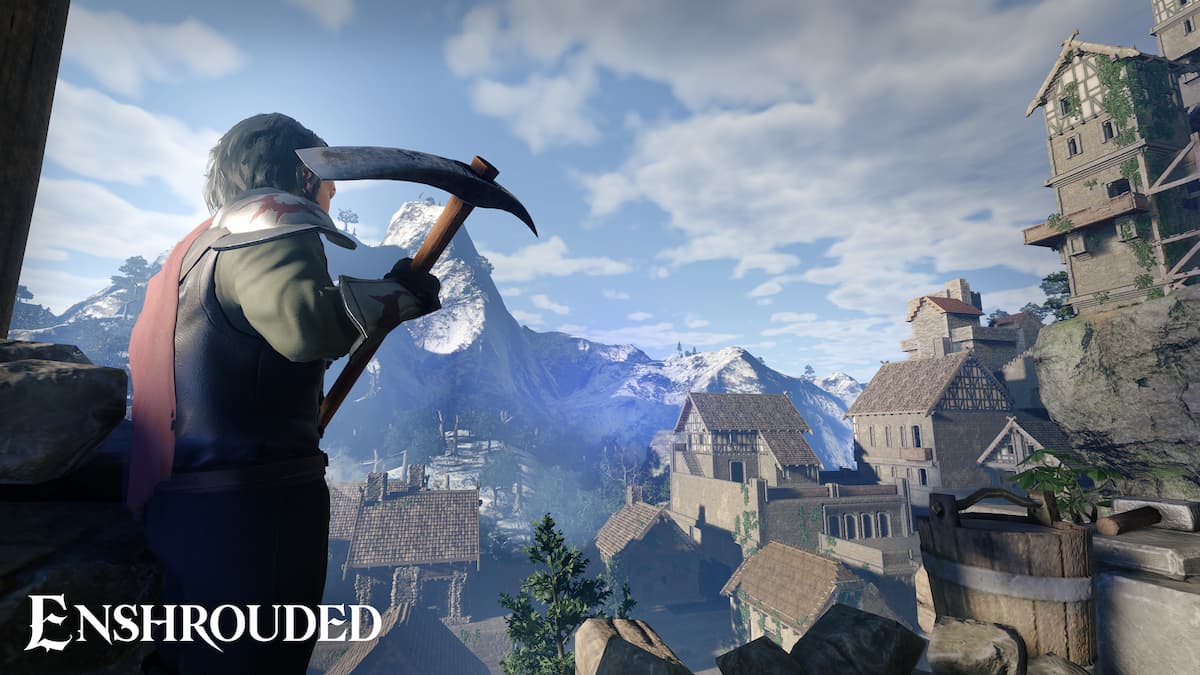
Getting Started in Enshrouded: A Beginner’s Guide
Enshrouded transports players to a sprawling voxel-based continent, filled with opportunities for survival, crafting, and action-packed RPG combat. Before we dive into particulars, let’s first plug our list of all resources in the game and interactive map page — these should provide some very handy references for you.
Let’s break everything down so you get started on the right foot.
Saving in Enshrouded
First things first, let’s not lose any of your progress after having taken your first steps in the game! Enshrouded doesn’t offer a straightforward manual save option. Instead, your progress is automatically saved when you exit the game by selecting ‘Quit to Desktop’ or ‘Return to Menu’ from the options menu. However, this saving mechanism has some important nuances to consider.
When you re-enter the game, you won’t resume from the exact spot where you left off. Instead, you’ll find yourself at your Flame Altar, located within your base. This is a crucial point to remember, especially when planning when to exit the game.
To avoid losing progress, it’s advisable to quit the game only when you’re safely back at your base. If you exit while exploring far from your base, especially if you’ve ventured through dangerous areas like the deadly shroud, you risk losing some of the progress made during that expedition.
Getting a Summoning Staff
Crafting a Summoning Staff is a key early activity. This begins by visiting your Flame Altar and interacting with it (using the Y button), which unlocks the Summoning Staff in your crafting menu, specifically under the Essentials sub-menu.
To craft the staff, you need only one Twig, which is easily found in the game’s forest area. Twigs can be collected by harvesting shrubs, bushes, saplings, or as drops from chopping down trees.
After acquiring a twig, you craft the Summoning Staff through the Crafting menu. When crafted and equipped, it allows you to summon characters, with the first being Oswald Anders the Blacksmith. This is shown by a blue silhouette appearing when the staff is selected.
This early crafting task is particularly useful for players as it introduces a fundamental aspect of the game—summoning characters to aid in their survival journey. By unlocking and utilizing the Summoning Staff, players can significantly enhance their gameplay experience by bringing new characters with unique skills and abilities into their adventure.
Crafting Items (What to Craft First)
No starter guide, and no survival game, would be complete without crafting. You’ll need to build essential items like a flame altar and a workbench, using resources like stone and wood. These tools are the foundation for more complex creations, including various types of gliders that are pivotal for exploration and travel.
Here’s a list of items we recommend crafting first:
- Bandages: Essential for healing, bandages provide healing over time and are particularly useful as they have a quick animation, allowing players to quickly return to combat.
- Lockpicks: Recommended for opening locked chests, especially in the early game. Crafting lockpicks requires metal scraps, which might be scarce initially but are a worthy investment for unlocking potentially valuable items in chests.
- Club: A basic yet effective melee weapon. It’s advised to craft a club early on, especially before getting access to a Blacksmith, for effective combat against lower-level enemies like wolves and goats.
- Grappling Hook: Highly recommended for exploration. It allows players to access new areas and is particularly crucial for crossing certain obstacles, like bridges, which can’t be navigated otherwise. Detailed guide on how to obtain it here.
- Glider: The glider provides a convenient means of traveling long distances, especially descending. Crafting it requires several materials but is beneficial for efficient navigation across the game map.
Quick note on the rake. There’s a bug that sometimes causes the recipe to go missing; we’ve got a fix guide for it if you encounter the issue.
Gliders
One of the unique features in “Enshrouded” is the use of gliders. Starting with a basic glider, you’ll progress to more advanced versions like the Advanced Glider, Extraordinary Glider, and the elusive Ghost Glider. Each glider requires specific materials and steps to craft, offering enhanced capabilities and aiding in your exploration of Embervale. You can read our more detailed overview on how to get and craft the various versions for more.
Resetting Skills
You’re not locked into your character build in Enshrouded. To reset your skills, you need to collect Runes, a currency obtained by defeating enemies. Here are the steps for resetting your skills:
- Defeat enemies to gather Runes.
- Go to the Flame Altar and interact with it.
- Select the bottom option to reset your skills.
Resetting your skills costs ten Runes, which is relatively easy to farm, even in the initial areas of the game. However, it is suggested that early in the game, there’s little need to respec, as the focus should be on skills that enhance specific stats.
Strengthening the Flame
Strengthening the flame forms a key part of the progression in Enshrouded. As you make your way around the map, you’ll often encounter Deadly Shroud that cannot be navigated. When this occurs, know that it will eventually lift and become a regular Shroud after you progress some more and strengthen the Flame.
Put simply, if you can’t get to an area because the Deadly Shroud is just too vast to get through, you need to strengthen the Flame.
To empower the Flame at any Flame Altar, you must first select the Flame, which provides an option to strengthen it using various sacrificial offerings. Alternatively, you can access your Journal to view the necessary offerings by pressing J on your keyboard or selecting the appropriate option in the game’s menu with your Xbox controller. However, note that upgrading the Flame can only be done when you are physically present at a Flame Altar.
Enhancing the Flame brings significant benefits: it grants an additional 2 Altar activations per level, removes Deadly Shrouds by adding an extra Shroud Passage level, and provides an extra Character Attribute bonus. The offerings required for this process, such as Resin, String, and Sparks, are easily obtainable through simple crafting or by defeating corrupted enemies in Embervale, ensuring that players can strengthen the Flame without excessive difficulty.
Building in Enshrouded
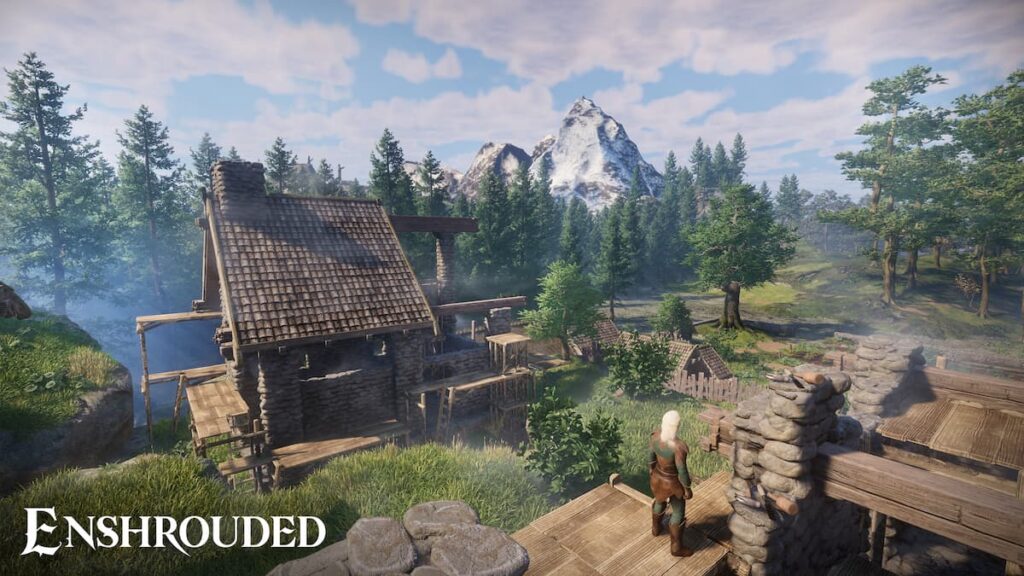
Building mechanics in Enshrouded are a central part of the gameplay. As you gather resources and explore, you’ll have the opportunity to construct everything from basic shelters to grand halls. Your building skills will reflect your personal style and strategy, whether you’re creating a simple refuge or an elaborate fortress.
You can place a base down anywhere, but many places are clearly better than others. We also found that even if you set a base down in an area with enemies, those enemies disappear when you load into the area for the first time each time you play.
Note that you get the ability to make walls and entryways, but not doors or windows until you get the Blacksmith and even then, you get more options once you get the Carpenter.
Best Enshrouded Beginner Tips & Tricks
- Adjust Fog Quality for Better Performance: The fog in the Shroud can hinder visibility and game performance. Lower the fog quality in display settings for smoother gameplay.
- Beware of Blue Mushrooms: Avoid consuming blue mushrooms raw as they can cause instant death. Cook all foods, including mushrooms and berries, to avoid food poisoning.
- Understand Death Drops: When you die, the game randomly decides which items from your inventory are dropped. Items in your action bar are retained, but others may be lost.
- Food Bonuses Change When Cooked: Raw foods like Purple Berries or Corn provide certain bonuses. Cooking them can enhance or change these bonuses. Check food details before and after cooking.
- NPC Dialogue Repetition: NPCs repeat the same lines. To avoid annoyance, consider placing them away from your main base area.
- Explosive Traps in Pillaged Villages: Be cautious when looting villages, as raiders may have booby-trapped resources.
- Careful Building Placement: Building mechanics allow for overlapping structures, which can be problematic. Pay attention to placement to avoid having to redo your work.
- Lore Unlocks Map Points of Interest: Reading lore, indicated by red beacons, reveals new points of interest on the map, helping you avoid ambushes or tough areas.
- Utilize Flame Altars for Easy Travel: Teleport between Flame Altars to save time. Place new Flame Altars in strategic locations for quick access to important areas.
- Quest-locked Resources: If you can’t find a specific resource or material, it’s likely locked behind a quest. Complete main and side quests to unlock these items.
With this handy Enshrouded starter guide, you should be ready to start your adventure in Embervale. Just remember that, like any survival game, it’s a marathon and not a sprint!