Image source: Duhndal via We Game Daily
In the aptly-named One-Armed Robber, you take on a variety of daring heists, with the unique spin that you have only one arm! One of the most challenging missions involves robbing a museum. To successfully pull this off, you’ll need the right equipment and a solid strategy. Let’s walk you through the steps required to stealthily achieve a One-Armed Robber museum heist and make your escape without a hitch. We’ve updated this guide with simplified steps in addition to a full walkthrough.
How to Rob the Museum Stealthily in One-Armed Robber
Before getting stuck into the mission itself, here’s the equipment we recommend:
- Suppressed Pistol (Loadout > Pistol > Modify > Muzzle > Suppressor)
- Completed Stealth Tutorial (and a clear understanding of it)
- Lockpick
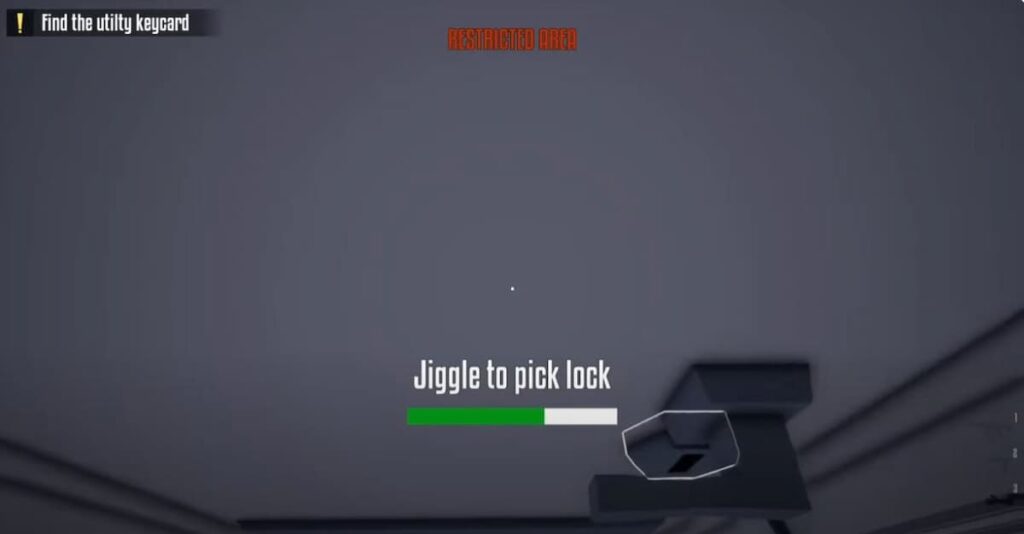
Your mission begins at the museum’s front entrance. Use your lockpick to quietly gain access. Watch out for guards inside, but fortunately they have generous spotting times, giving a window of opportunity to slip past.
Be aware of security cameras, but you can sprint past them just like you would with most guards.
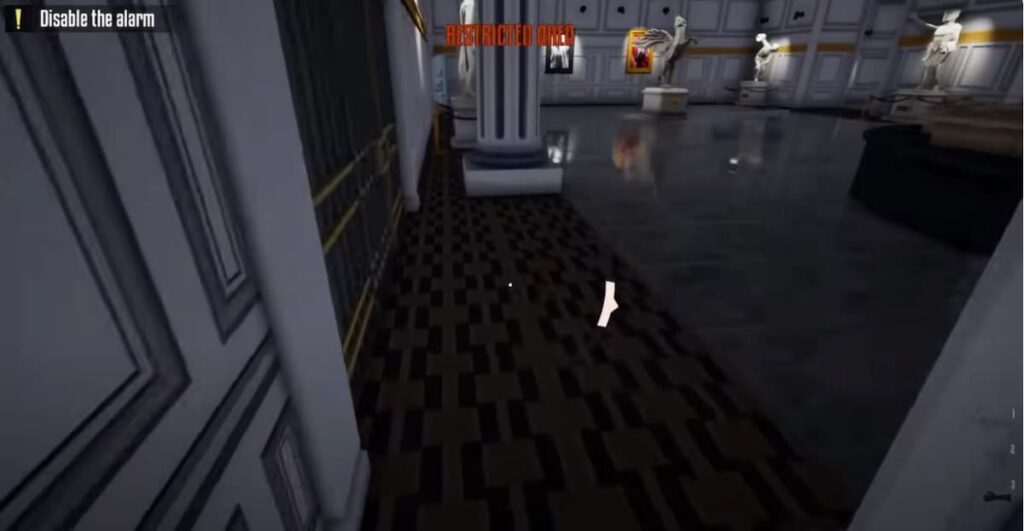
Once inside, stick to the left wall for cover and to avoid detection. Timing your movements based on guard patrols is crucial.
Continuing along the left wall, you’ll come across a locked door. Use your lockpick to access a hallway guarded by a single security officer. The manager’s office, where you’ll find the keycard, is in this hallway.
There’s an answering station nearby for added convenience. Locate the keycard on the manager’s desk. Use this keycard to unlock the basement door.
Disabling the Alarms & Handle the Guards
Stick to the left wall until you reach the basement door, enter the adjacent room, and wait for the guard. Then, proceed to the basement.
Down in the basement, carefully dodge the camera and unlock the door leading to the alarm shutdown. Time your actions to coincide with the camera looking away.
Return to the spot where you dealt with the guard. Go through the back door, pick the lock on a door to your left, and discreetly shoot the camera. The Guards shouldn’t notice the broken camera.
Proceed forward from the entrance to find the camera operator’s room. If you didn’t already, shoot the camera here.
Picklock the upstairs door (not the one on the left). Other guards won’t notice when you down this guard, making him just a minor obstacle.
Jump down, pick another door, wait for the right moment, and take down the last guard. The answering station is located in the middle of the main hall. Surprisingly, you can simply run past most guards because they aren’t very vigilant.
Grab the Loot and Make a Run For it
Load up a pallet on wheels with the stolen loot. Keep an eye out for curious guards; they might investigate your activities. Be cautious, as guards may become curious.
Exit through the back door with your loaded pallet and head for your getaway van. Fortunately, no cameras are watching the back exit.
Here’s a step-by-step breakdown so the mission walkthrough is crystal clear:
- Begin at the Museum’s Front Entrance
- Start your mission at the museum’s front entrance. Your objective is to gain entry without attracting attention.
- Quiet Entry with Lockpick
- Use your lockpick to quietly gain access through the door, ensuring not to alert any potential security measures right from the start.
- Inside: Avoid Guards and Security Cameras
- Once inside, be mindful of guards and security cameras. Guards have generous spotting times, providing windows of opportunity to slip past them.
- You can sprint past security cameras and guards alike, using speed as an advantage to avoid detection.
- Stick to the Left Wall for Cover
- For added stealth, stick close to the left wall inside the museum. This not only provides cover but also guides you along a path with lesser detection risk.
- Encounter with a Locked Door
- Following the left wall, you’ll encounter another locked door. Use your lockpick again to access the hallway beyond, which is patrolled by a single security officer.
- Find the Manager’s Office for the Keycard
- In the hallway, locate the manager’s office. Inside, you’ll find the keycard on the manager’s desk, which is essential for your next step.
- Unlock the Basement Door
- Use the acquired keycard to unlock the door leading to the basement. This is your primary objective location.
- Disabling the Alarms and Handling Guards
- Continue sticking to the left wall to reach the basement door. Enter the adjacent room to avoid a guard and then proceed to the basement.
- Use columns in the basement to break line of sight from guards and cameras.
- Dodge the basement camera and unlock the door leading to the alarm shutdown. Time your actions to coincide with the camera’s movement.
- Dealing with Security Measures
- After disabling the alarm, return to the spot where you avoided the guard. Pick the lock on a door to your left, then discreetly disable the camera. The guards shouldn’t notice the camera’s destruction.
- Find the Camera Operator’s Room
- Move forward from the entrance to locate the camera operator’s room. Disable the camera here if you haven’t already.
- Picklock the Upstairs Door
- Choose the upstairs door for your exit (not the one on your left). Taking down the guard here should go unnoticed, making him a minor obstacle.
- Final Steps
- After dealing with the upstairs guard, jump down, pick another door, and carefully time your movement to take down the last guard.
- The answering station, your final objective, is located in the main hall’s center. Given the low vigilance of most guards, you can run past them to complete your mission.
And that’s our walkthrough for the One-Armed Robber museum heist. Completing this job with all the loot will reward you with a handsome 112,000 credits. Good luck!